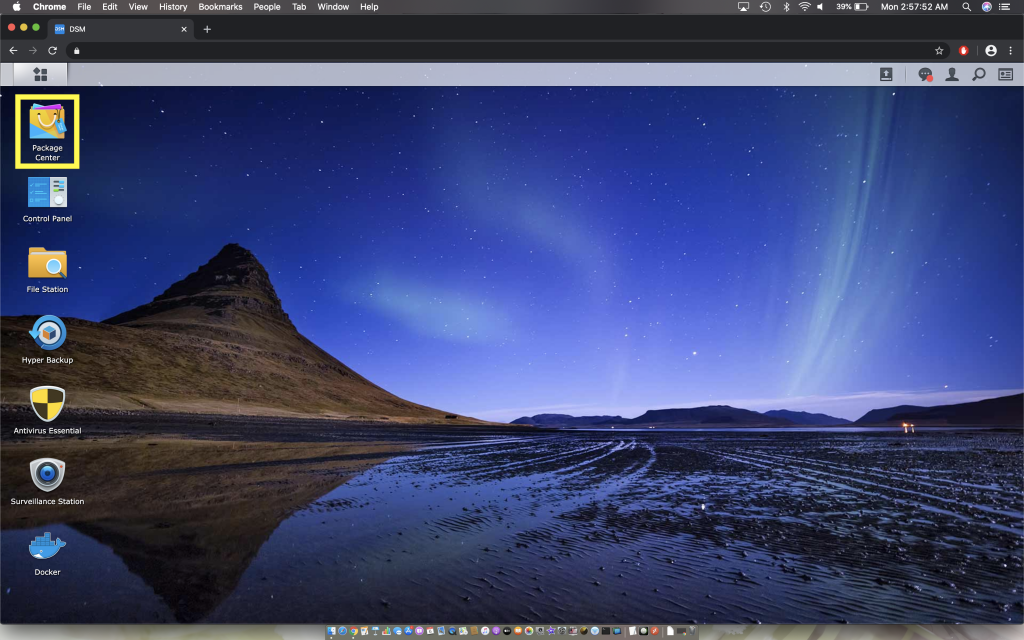
1. Open Package Center.
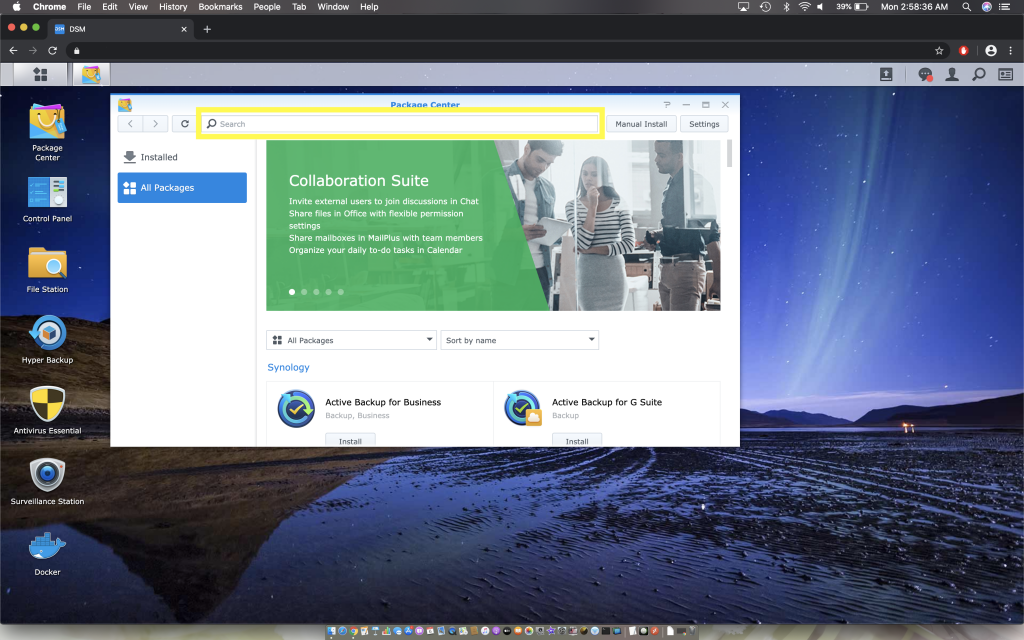
2. Type “Cloud Sync” into the search box, without quotes.
3. Click on Cloud Sync.
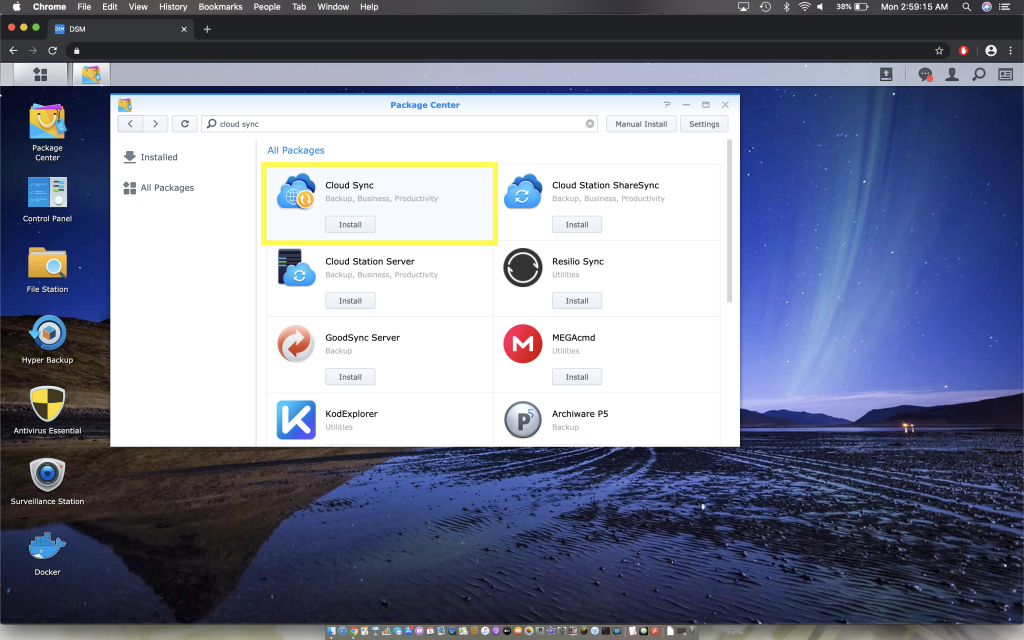
4. Click on install, wait for the application to finish downloading.
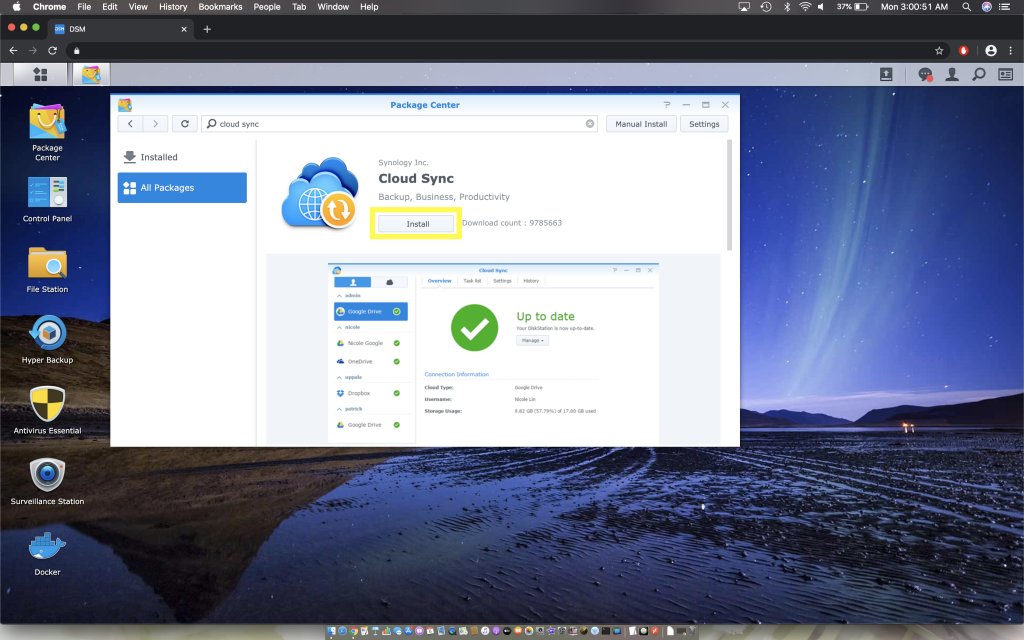
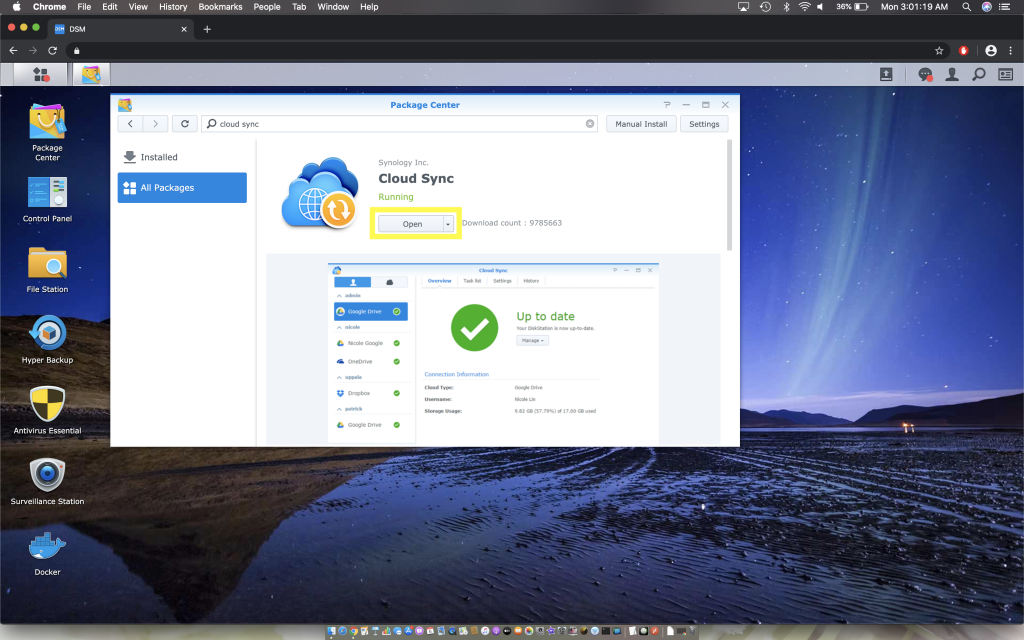
5. Click on Open.
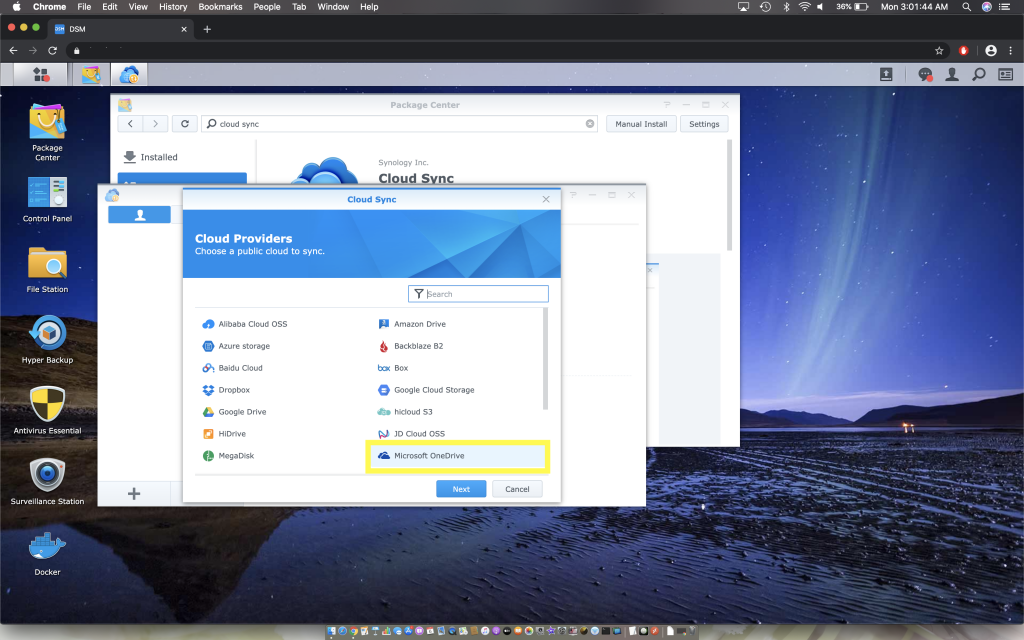
6. Select the Cloud provider that you would like to use and then click Next.
For this example we will be using Microsoft OneDrive.
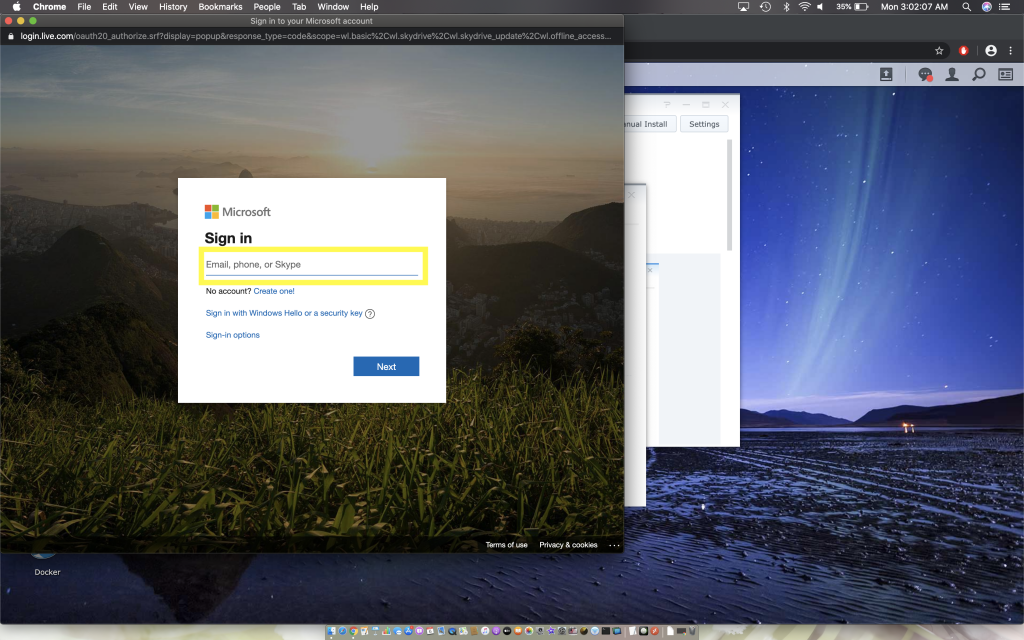
7. Type in the username for your account and click Next.
8. Type in the password for your account and click Next.
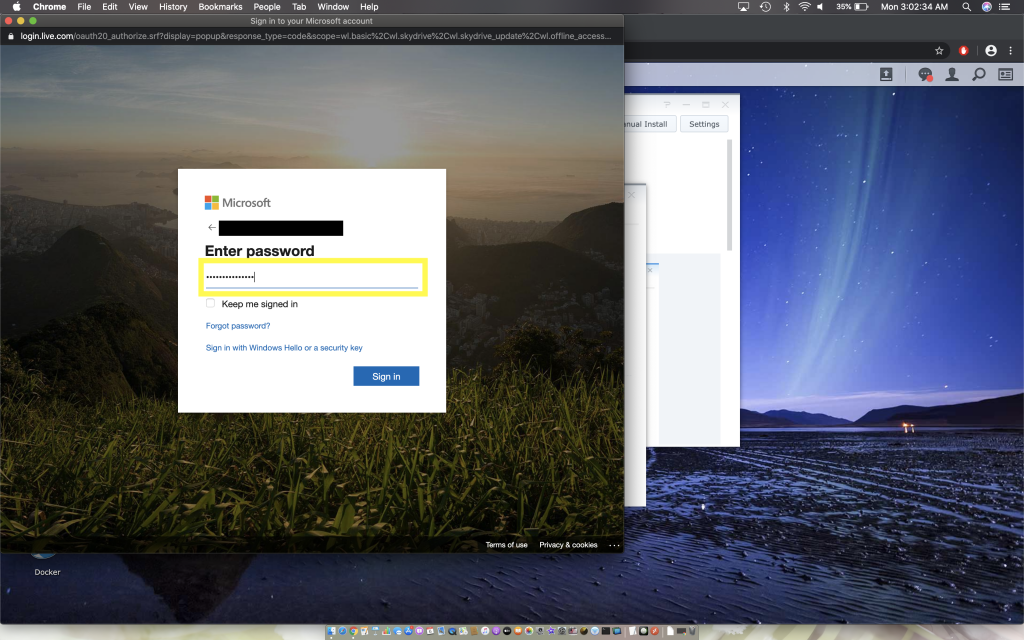
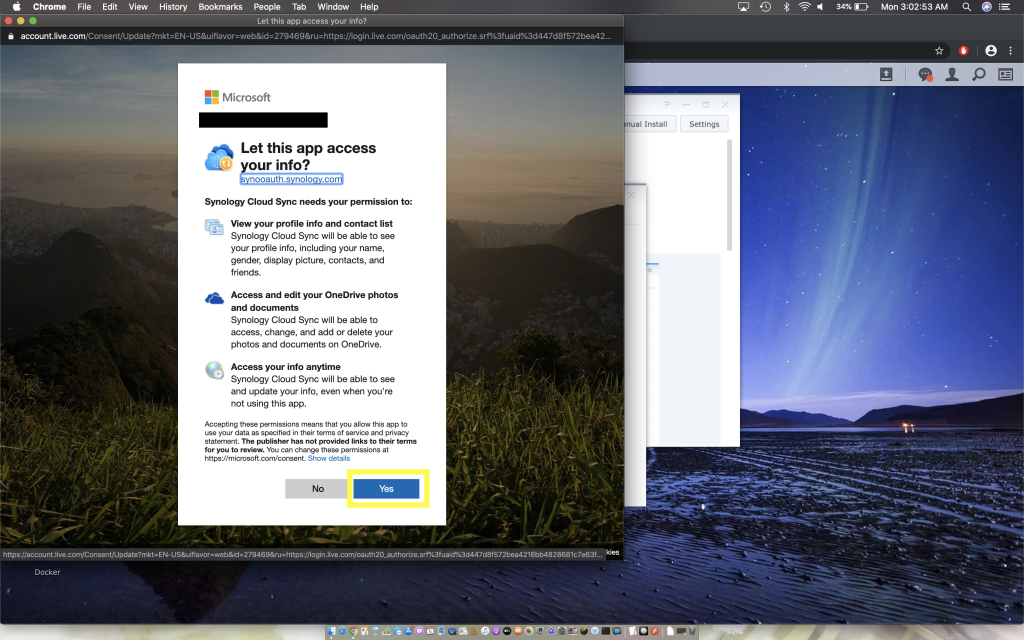
9. Give Cloud Sync permission to access the your cloud provider account by clicking Yes.
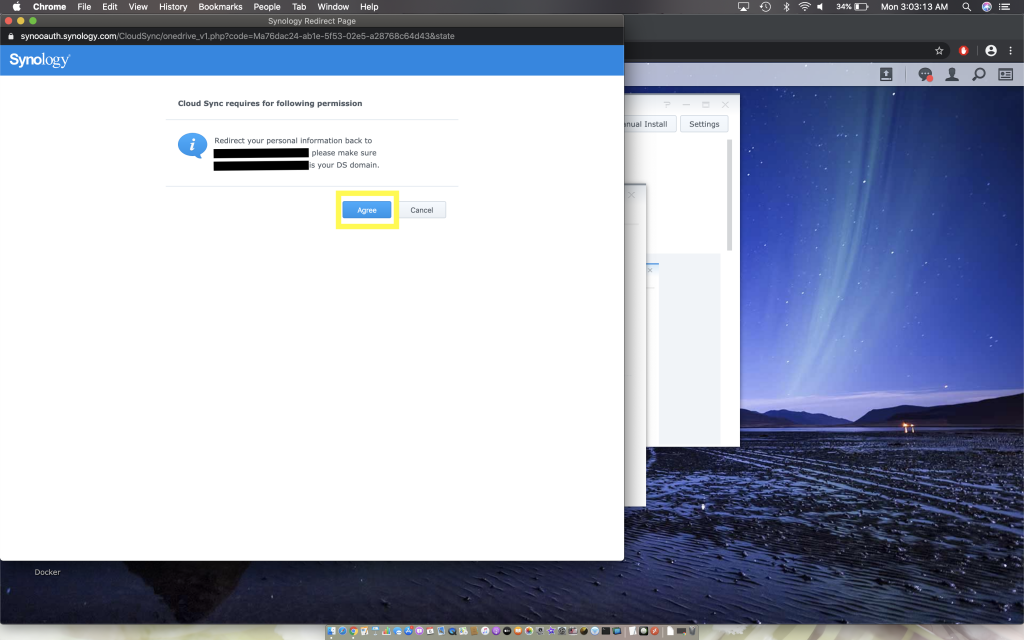
10. Confirm that the information is correct and click Agree.
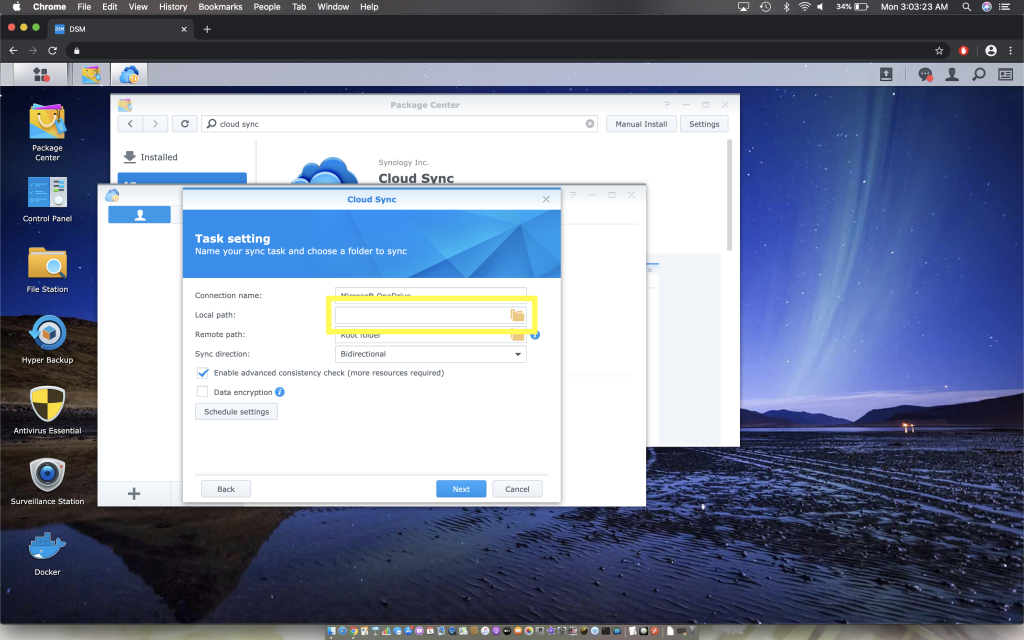
11. Click on the folder icon to the right of Local Path.
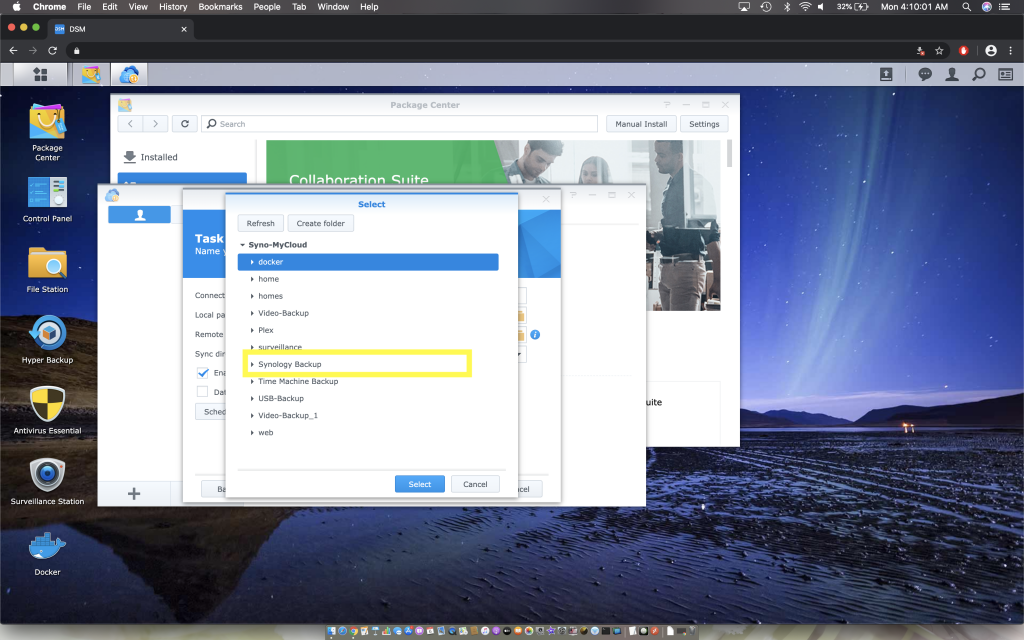
12. Click on the folder that you would like to backup to the cloud.
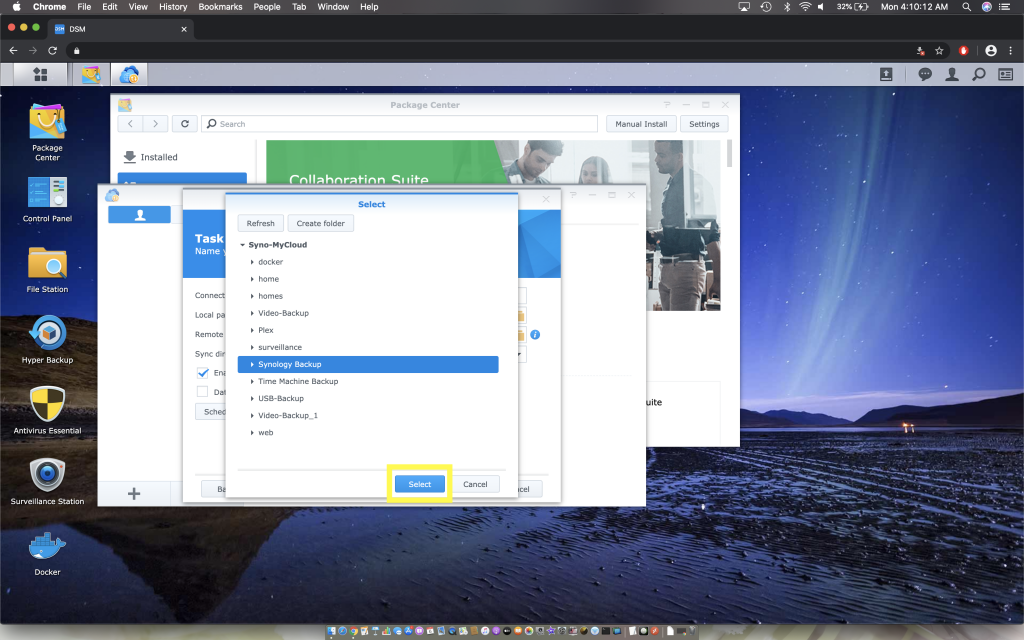
13. After selecting the folder click on Select.
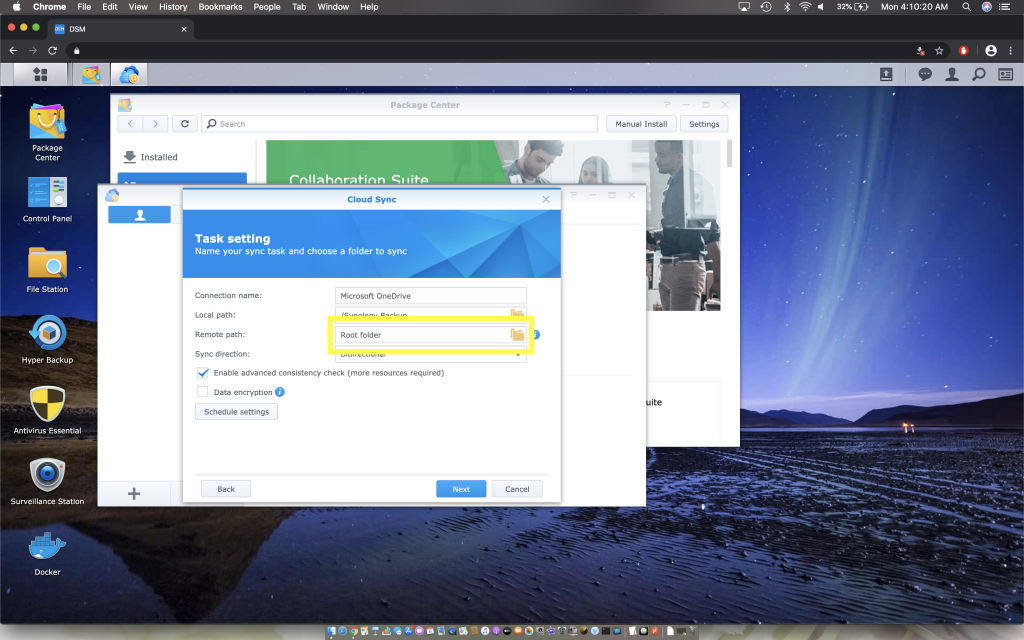
14. Click on the folder icon to the right of Remote Path.
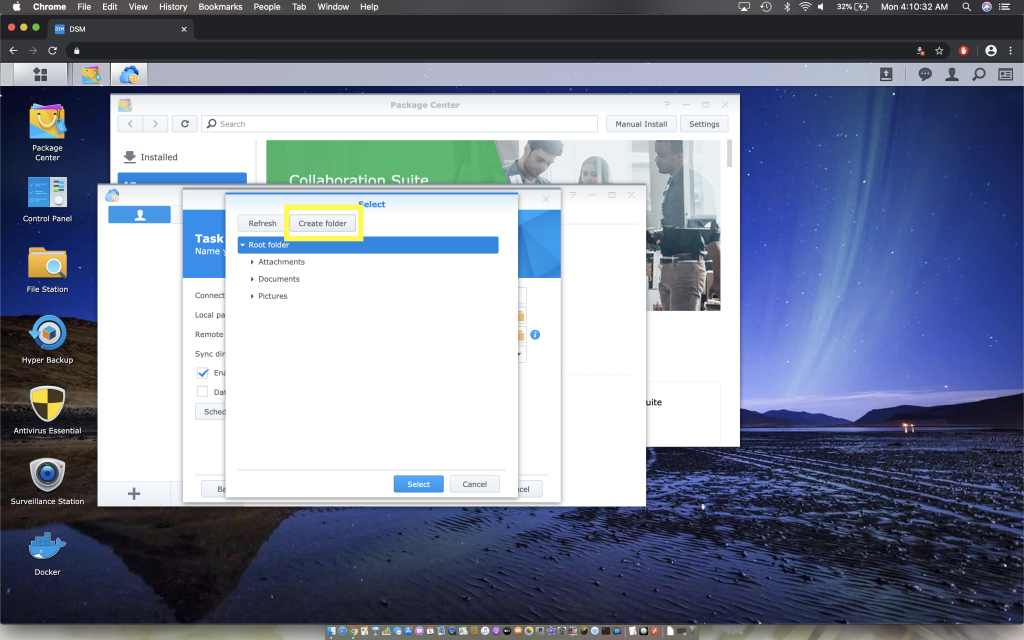
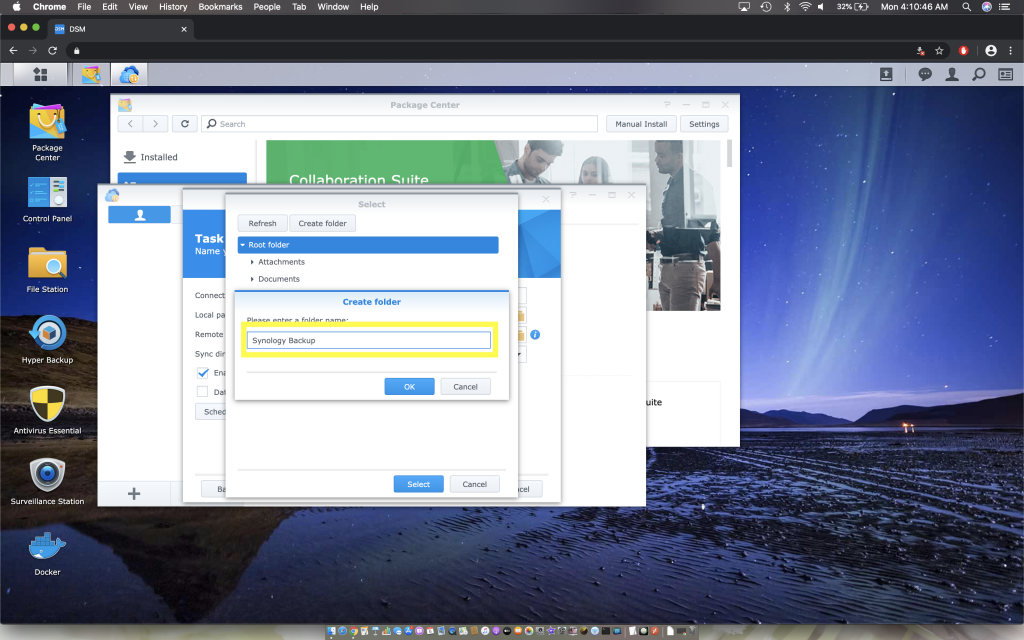
15. Click on Create Folder.
16. Type in the name you would like to use for the backup folder.
For this example we will use “Synology Backup.”
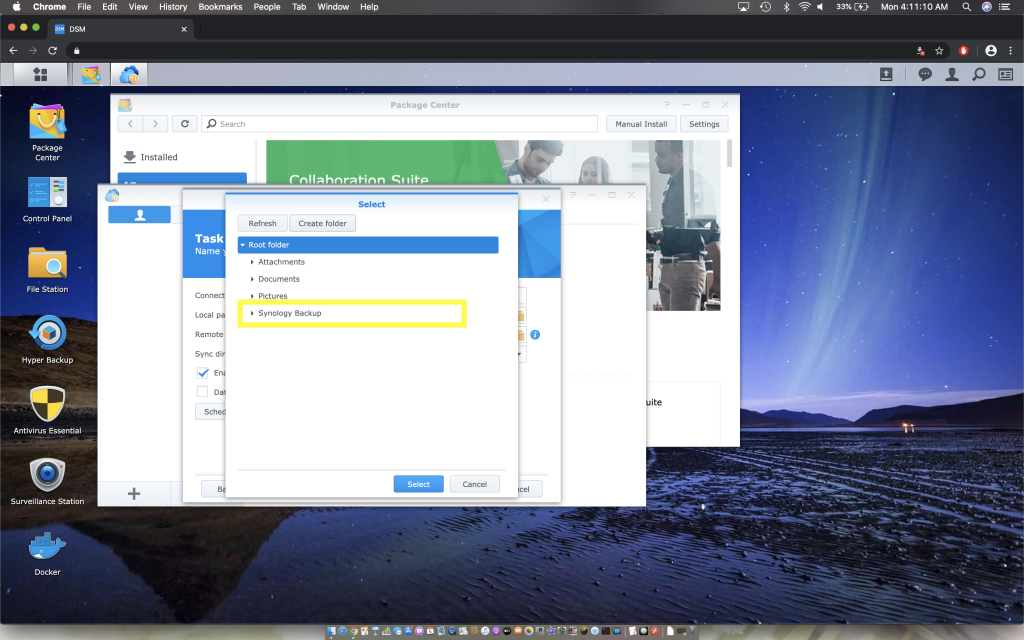
17. Click on the folder that was just created and then click on Select.
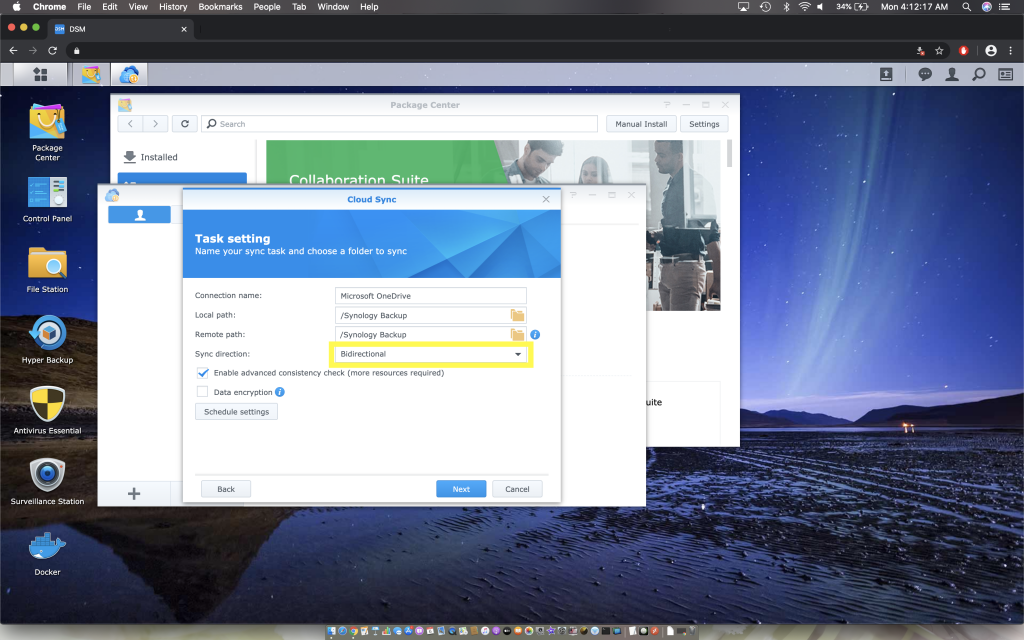
18. Click on the drop-down area that says Bidirectional.
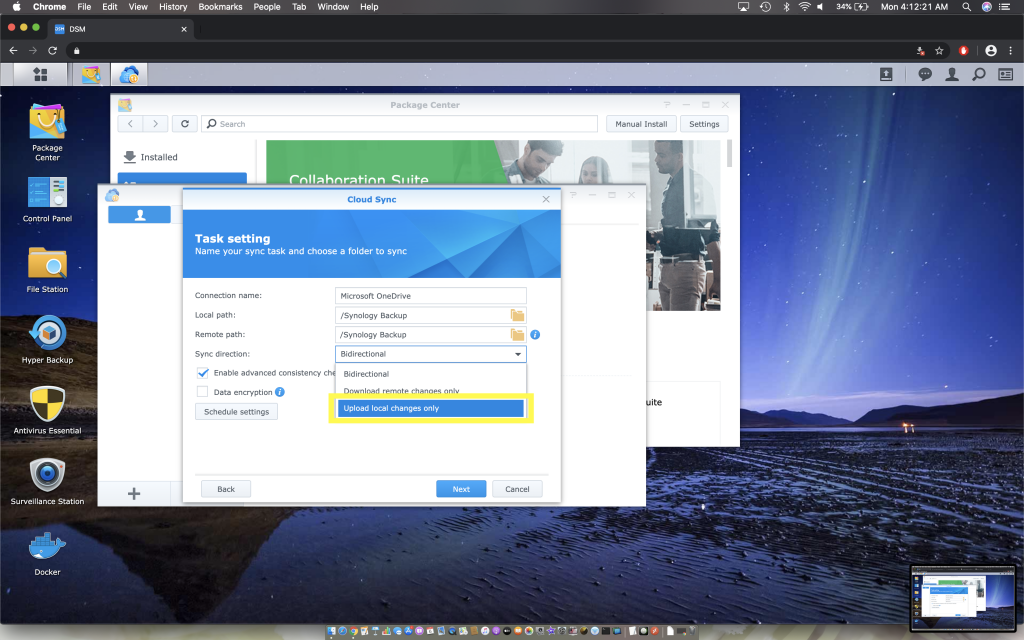
19. Select Upload Local Changes Only.
20. If you’re performing a one way backup Consistency check isn’t really needed and can be unchecked.
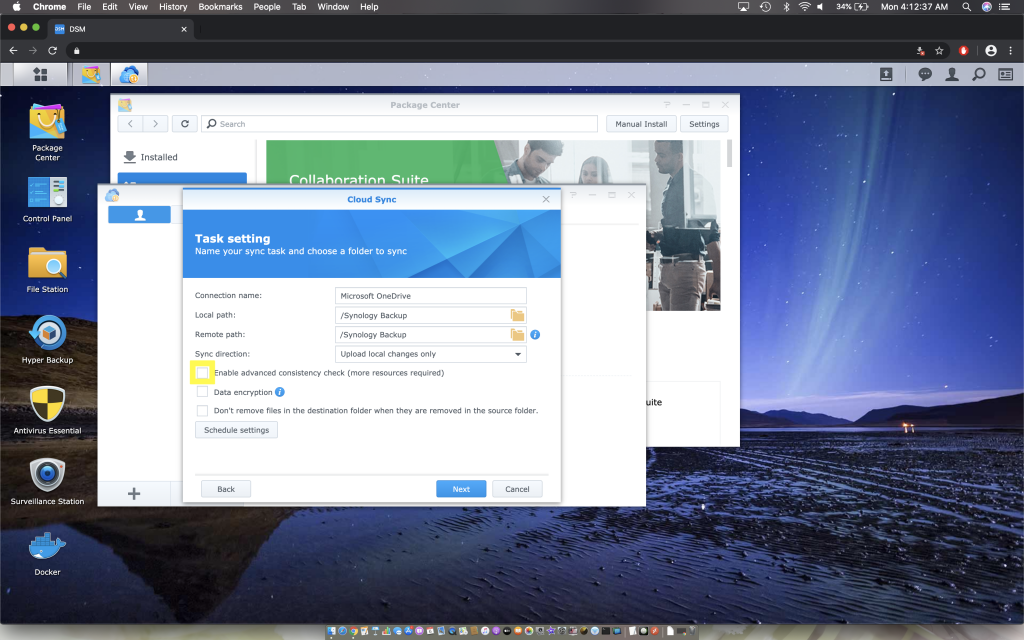
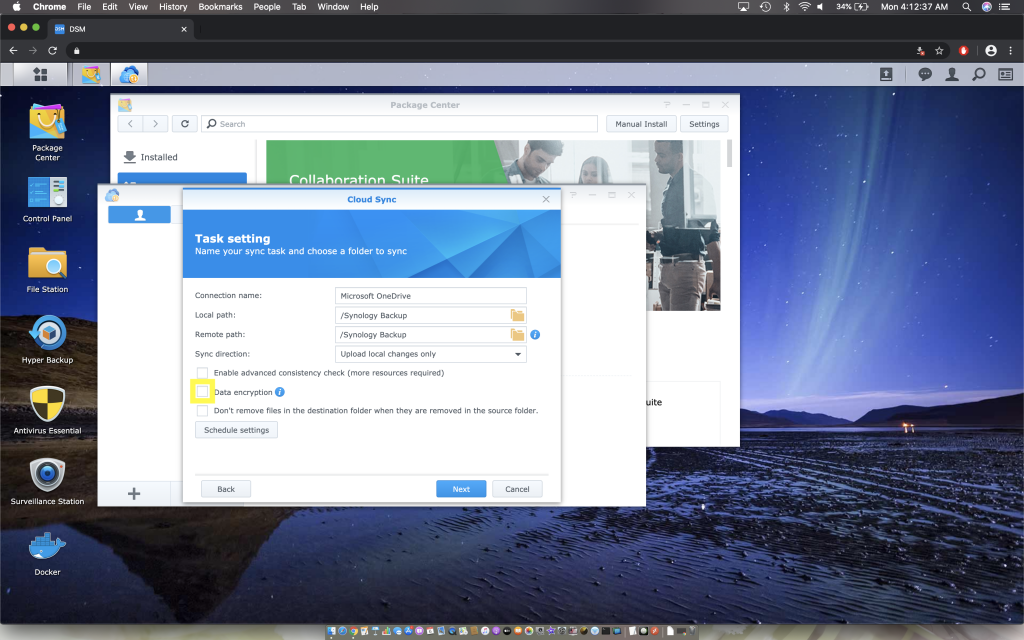
21. If your backup isn’t already encrypted I highly recommend checking off Data Encryption.
22. If you have the space available with your cloud provider you can check off “Don’t remove files in the destination folder when they are removed from the source folder,” to store multiple versions of your backup.
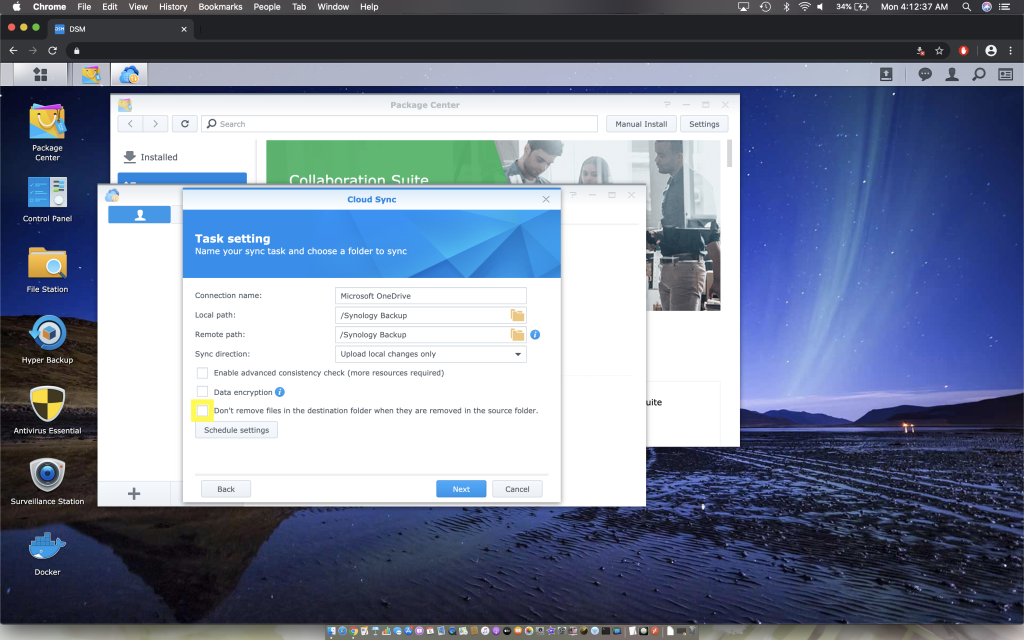
23. Once you have decided on the above click Next.
24. On the following screen confirm that all of the settings are correct and then click Next.
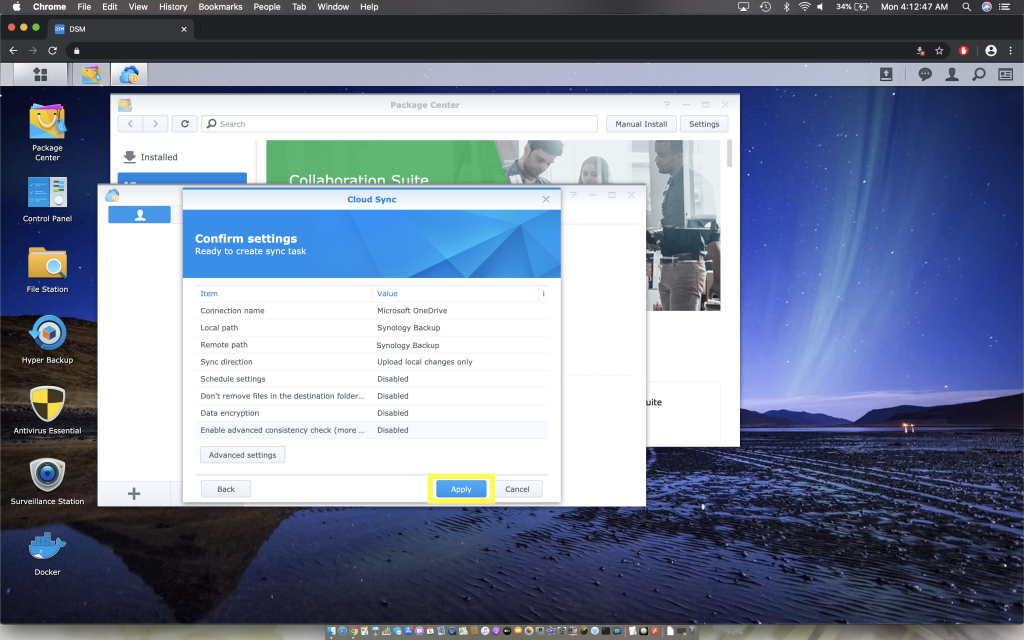
25. Click Ok.
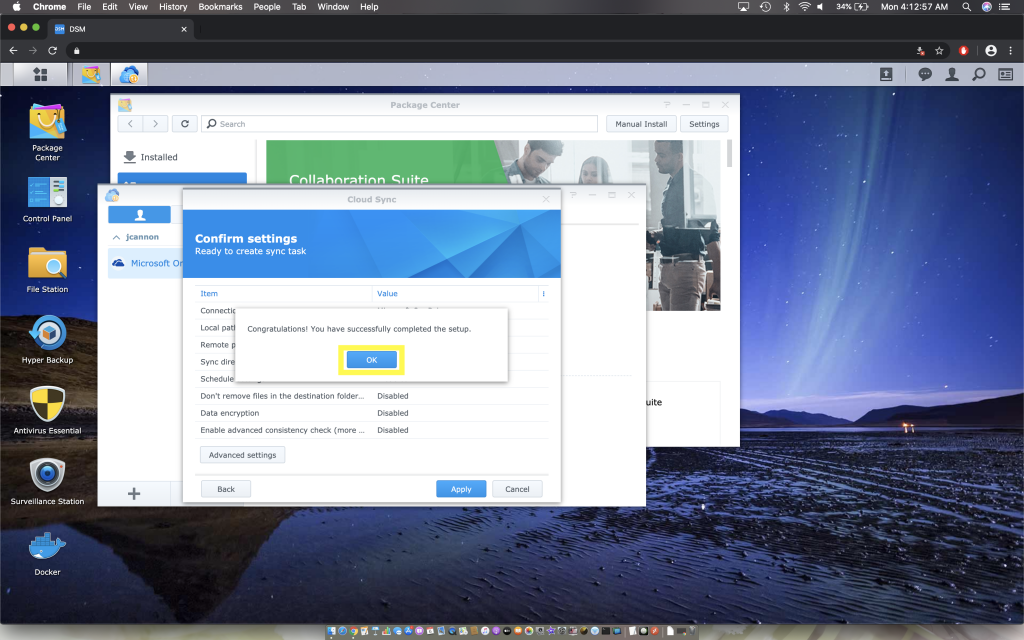
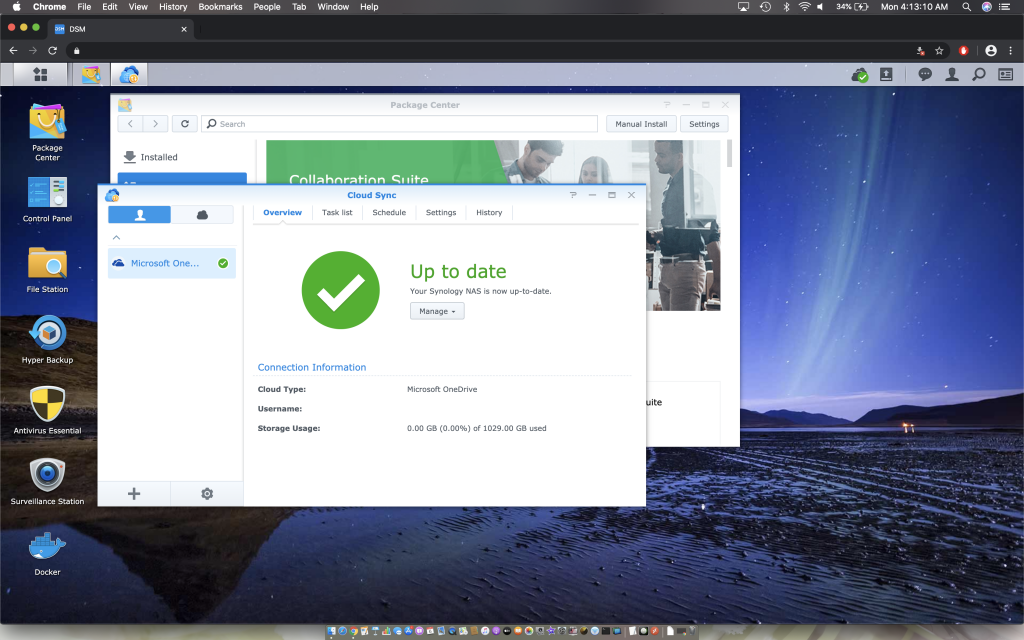
26. That’s it, you’re done!
